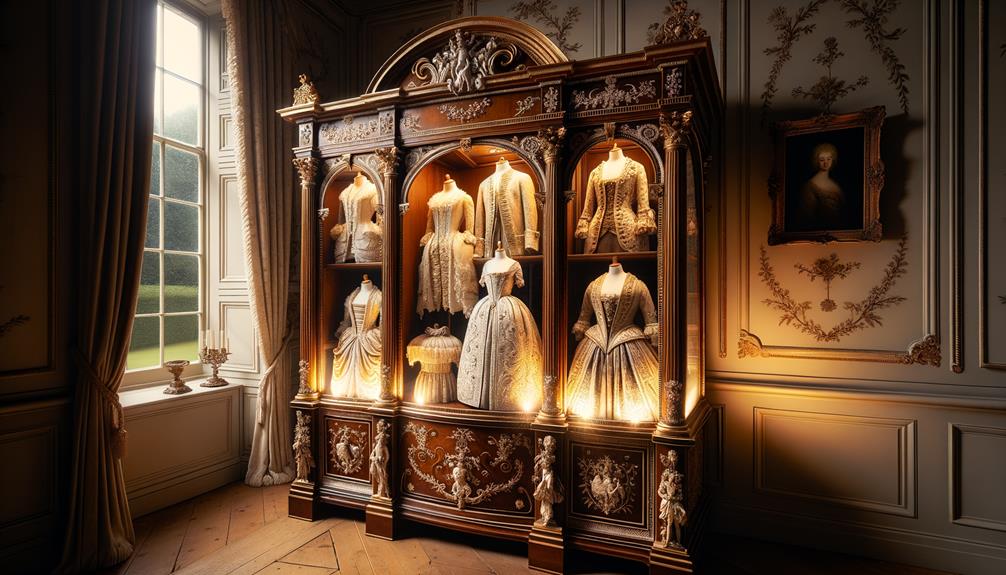
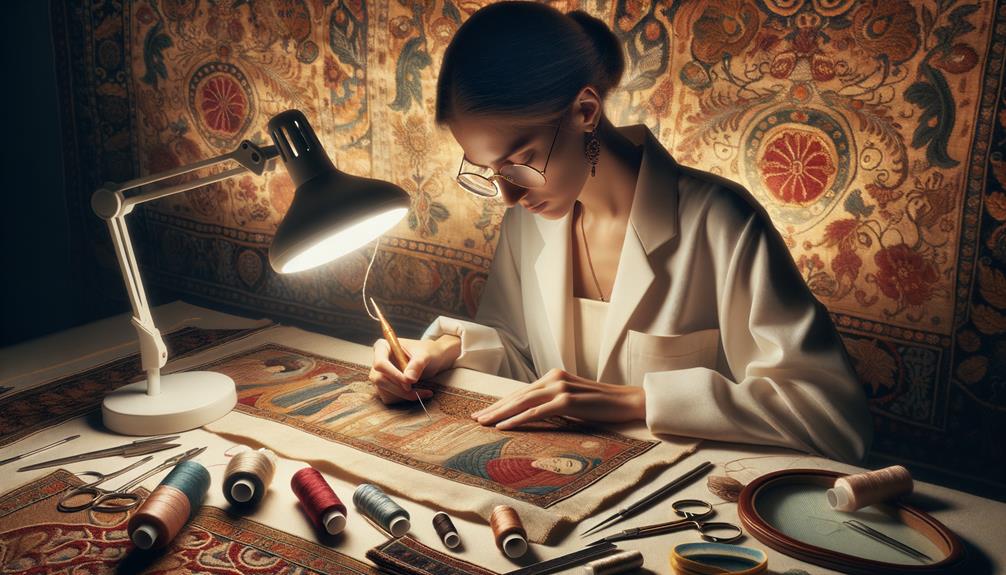
Restoring vintage clothing is an art that brings me immense satisfaction. I begin by meticulously examining each garment to grasp its condition. Gentle hand washing with a mild detergent protects the fragile fibers. For stubborn stains, a mixture of water and white vinegar or baking soda does the trick. When it comes to repairs, I take great care in patching with similar vintage fabrics and hand-sewing to maintain authenticity. To preserve the garments, proper storage is crucial – I use breathable materials and acid-free tissue paper to prevent deterioration. Regular checks and careful handling are vital to keeping these vintage pieces in pristine condition. There's much to discover in this fascinating process.
Assessing the Condition
When I first lay hands on a vintage garment, I meticulously examine every seam, fabric, and detail to understand its current state. This initial evaluation is crucial for preserving the integrity of my collection. I start by inspecting an inconspicuous area first, making certain I don't miss any delicate fabrics or minor damages that might compromise the garment's longevity.
Each vintage piece has a story to tell, and it's my responsibility to listen. I look for flaws that need attention, such as fraying seams or discoloration, that could worsen over time. If I spot minor damages, I determine if they can be addressed with professional restoration or if they signify deeper issues that make the piece less valuable. This careful scrutiny helps me decide whether a garment is worth adding to my collection or if it requires more extensive care.
Understanding the condition of these valuable vintage items allows me to approach their restoration with precision. By thoroughly scrutinizing each piece, I ensure that every stitch and fabric swatch gets the attention it deserves, preserving its history while preparing it for a new chapter in my collection.
Cleaning Techniques
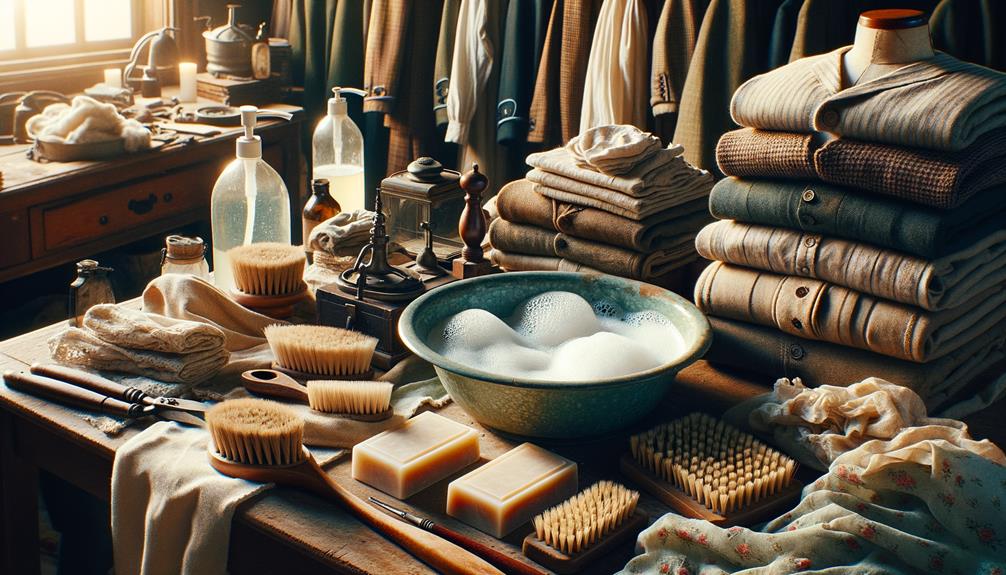
I start with gentle hand washing to preserve the delicate fibers of vintage garments. Each stain has a story to tell, and finding the right removal technique is like solving a puzzle. It's a delicate balance of patience and precision, ensuring the fabric's history remains intact while restoring its beauty.
Gentle Hand Washing
There's a certain reverence in gently hand washing a piece of vintage clothing, as each careful movement preserves a fragment of history. When I approach these delicate items, I feel a connection to the past, handling fabrics that have endured through generations. The process is meticulous and requires a few essential steps to safeguard the integrity of these vintage fabrics.
- Prepare the Cleaning Solution: I fill a basin with cold water and add a mild detergent, ensuring it's gentle enough for delicate items. This step is crucial to avoid damaging the fabric.
- Soak and Relax: I immerse the garment in the solution, allowing it to soak for a few minutes. The cold water helps preserve the fibers, while the mild detergent begins to lift any dirt.
- Gently Agitate: With extra caution, I gently agitate the fabric. This ensures that the cleaning solution penetrates without causing wear or tear.
- Rinse and Dry: After washing, I rinse thoroughly to remove all detergent residue. Finally, I lay the item flat on a drying rack, avoiding direct sunlight to prevent fading.
Through gentle hand washing, I not only clean but also honor the craftsmanship of these timeless pieces.
Stain Removal Tips
Tackling stains on vintage clothing requires a gentle touch and the right techniques to preserve the garment's integrity. When dealing with oil-based stains, I've found that a solution of equal parts water and white vinegar is highly effective. I gently blot the stain with a clean cloth, working from the outside in to avoid spreading it.
For ink stains, I rely on a stain remover or a mix of water and hydrogen peroxide. Letting it sit for 10-15 minutes before rinsing with cold water usually does the trick. Tough stains like red wine or grass call for a mixture of water and baking soda. I apply it and let it sit for 30 minutes to an hour before rinsing with cold water.
Grease or oil-based stains need a cleaning solution of water and dish soap. I gently scrub the stain with a soft-bristled brush before rinsing. Protein-based stains like blood or sweat respond well to cold water and mild detergent. I gently blot these with a clean cloth, again working from the outside in.
It's crucial to verify the care label and ensure the garment is dry after stain removal. This approach helps maintain the delicate allure of vintage clothing.
Repairing Damage
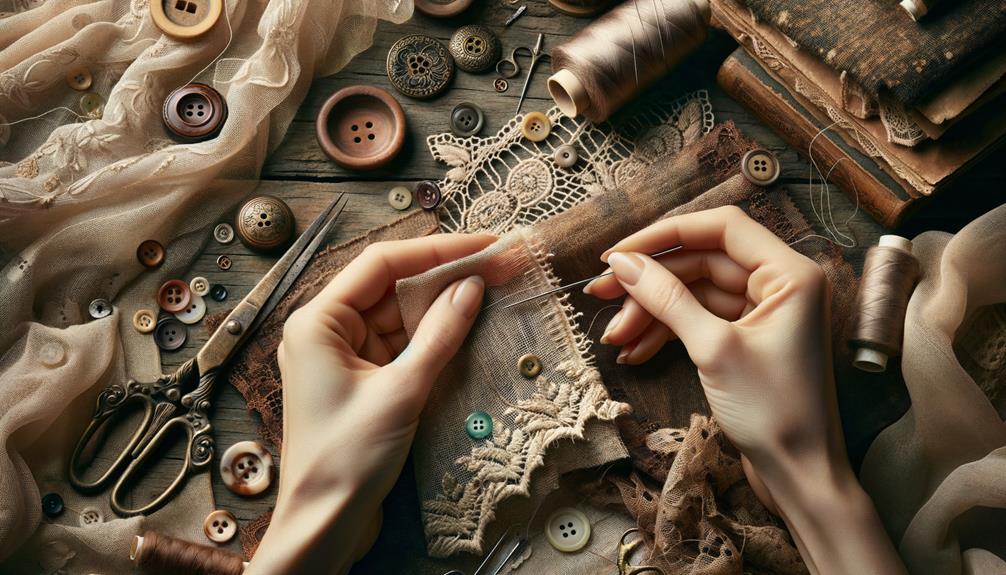
When repairing vintage clothing, I meticulously patch fabric tears, ensuring each stitch blends seamlessly into the original weave. Replacing missing buttons can be a small yet transformative task, giving new life to the garment. Fixing seam rips requires precision and patience, but the reward of restoring a treasured piece is immense.
Patching Fabric Tears
Repairing fabric tears in vintage clothing requires both patience and a delicate touch to preserve the garment's integrity and character. When I embark on this meticulous journey, I reflect on the garment's history and the stories it carries.
- Examine the Damage: Carefully inspect the tear, considering the fabric type. Vintage pieces often involve natural fibers, which require specific restoration techniques to maintain their original feel.
- Select Materials: Choose a patch from a similar vintage fabric. This maintains consistency in texture and appearance. Restoration services often have rare fabric samples that blend seamlessly.
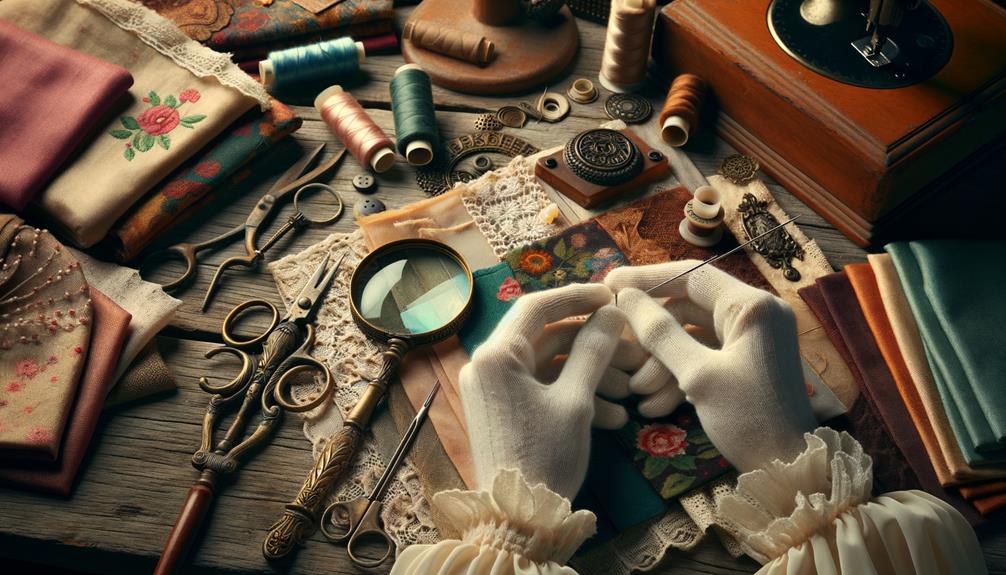
- Hand Sew the Patch: Machine stitching can be too harsh for delicate garments. Hand-sewn repairs offer precision and maintain the garment's authenticity. Using a fine needle and matching thread, I stitch with care, thereby securing the fabric.
- Post-Repair Care: Once the tear is fixed, I store the garment in breathable garment bags to protect it from dust and pests. Regularly checking for missing buttons and other signs of wear ensures the piece remains in top condition.
Replacing Missing Buttons
Restoring vintage clothing often begins with replacing missing buttons, an opportunity to reconnect with the garment's original charm and functionality. Each button holds a piece of the garment's history, and finding a suitable replacement requires a delicate balance of respect for the past and creativity. I often find myself searching through collections of buttons, seeking ones that not only match aesthetically but also help neutralize any damage the fabric may have sustained.
Proper care is vital to preserve these vintage pieces and keep them vibrant and wearable. When choosing buttons, I consider the material and era of the clothing items to maintain their unique charm. For cherished garments, it's worth seeking out authentic vintage buttons, though modern reproductions can sometimes be a suitable alternative.
Attaching the new buttons is more than just a technical task; it's about reviving these vintage treasures. With each stitch, I'm mindful of the garment's original design and structure, aiming to maintain the garments' integrity. This meticulous approach ensures that these clothing items continue to be cherished for years to come, preserving the stories and memories they hold within their threads.
Fixing Seam Rips
Fixing Seam Rips
After securing the perfect buttons, I shift my focus to fixing seam rips, a process that demands patience and a gentle hand. Vintage clothes require meticulous care, especially when dealing with fragile seams. I carefully examine the damaged area to determine the extent of the tear and the type of fabric and stitching used. This inspection sets the stage for a precise repair.
To fix seam rips, I need:
- Matching thread color
- Sharp, thin needle
- Small, even stitches
- Gentle handling of fabric
Using a matching thread color is crucial to maintain the garment's original look. I thread a sharp, thin needle, ensuring my stitches are small and even. Working from the inside of the garment outwards minimizes visibility and keeps the repair discreet. For larger tears, I might need a patch of matching fabric, carefully sewn in with the same small stitches before re-sewing the original seam.
When repairing these beloved garments, preserving the original piece's integrity is key. I replicate the original stitching method and thread type as closely as possible. This attention to detail ensures the vintage fashion piece retains its authenticity and charm.
Stain Removal
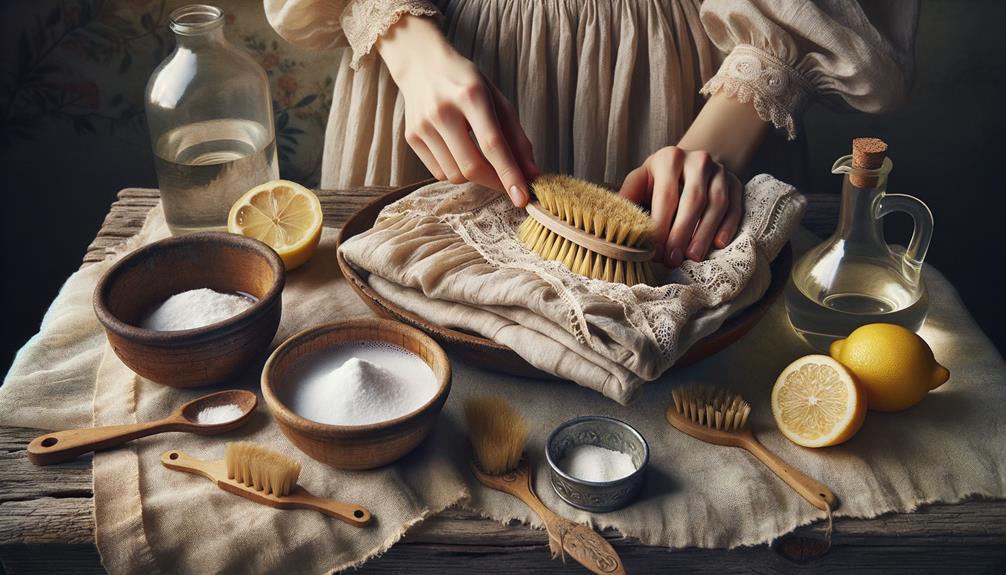
Tackling stubborn stains on vintage clothing is a delicate art that requires a gentle touch. Each piece tells a story, and every mark is a chapter waiting to be rewritten. When I come across a discolored fabric from a bygone era, I feel a mix of excitement and apprehension.
To remove stains, I start by mixing equal parts water and vinegar, creating a solution that's both effective and gentle. I prefer hand washing, as it allows me to closely monitor the fabric and apply just the right amount of pressure. For mold growth, I rely on the same water and vinegar mix, ensuring the garment dries thoroughly in a dry place, away from direct sunlight. This prevents further damage while prolonging the life of the fabric.
I'm always mindful of the delicate balance required. Too much force or the wrong solution can ruin the piece. Each successful stain removal not only restores the garment but also preserves a piece of history. It's a meticulous process, but the satisfaction of seeing an old fabric come back to life is unparalleled.
Proper Storage
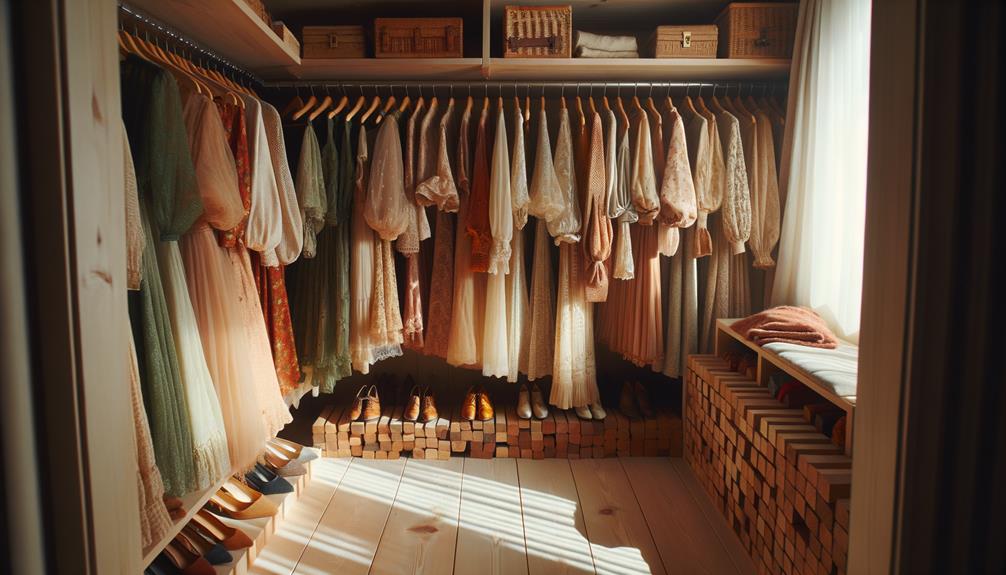
Preserving the integrity of your cherished vintage garments doesn't stop at stain removal; proper storage is just as crucial to ensure they remain in excellent condition for generations to come. To store your vintage clothing effectively, you'll need attention to detail and the right materials.
First, opt for breathable storage materials that allow airflow to prevent mold and mildew from forming. Avoid using plastic bags, which can trap moisture and cause deterioration.
Next, wrap each piece in acid-free tissue paper to prevent yellowing and damage, especially for delicate fabrics.
Invest in high-quality storage boxes and bags designed specifically for preserving garments. These are made to protect your clothes from environmental factors and pests, ensuring long-term preservation.
Store your collection in a cool, dry place, away from direct sunlight and moisture. Sunlight can cause fading, while moisture can lead to mold and mildew.
Regularly rotating and checking on your stored garments ensures even exposure and helps identify potential issues early. By taking these steps, you can safeguard your vintage treasures, preserving their beauty and history for future generations.
Preservation Tips
Here's a rewritten version of the text, following the provided instructions:
Preserving vintage clothing requires a thoughtful approach. To keep my vintage pieces in excellent condition, I've learned that the environment plays a crucial role. I store them in a cool, dry place, away from direct sunlight and moisture, to prevent damage and deterioration. Using acid-free tissue paper and breathable storage materials helps me preserve the fabric and prevent yellowing, maintaining the garments in excellent shape.
When washing vintage items, I follow specific care instructions to prevent any harm. Gentle hand washing is often best, and for drying my vintage pieces, I opt for air-drying in a shaded area to avoid sunlight exposure. Regularly checking on my stored garments allows me to identify and address issues like pest infestations or mold growth before they escalate.
Rotating my collection is another vital practice. By doing this, I distribute wear and exposure, preventing excessive stress on seams and fibers. Archival-quality storage boxes and bags offer additional protection, shielding my garments from environmental factors while maintaining their original charm. Through these thoughtful measures, I safeguard that my treasured vintage pieces endure and retain their timeless allure.
Frequently Asked Questions
How Do You Refresh Vintage Clothes?
I inspect the vintage clothes for stains or tears, then research the best cleaning methods. For musty smells, I soak them in water and vinegar. To restore colors, I use gentle dyes. Delicate fabrics get hand-washed with care.
How to Rejuvenate Old Clothes?
As I hold the old fabric, I imagine the stories it could tell. To give new life to old clothes, I gently wash and mend them, adding a modern twist. It's like bringing a piece of history into the present.
How to Clean 100 Year Old Clothes?
When cleaning 100-year-old clothes, I start by examining their condition and fabric type. Next, I test a small area with a gentle solution to ensure it won't damage the garment, and then proceed carefully to preserve its integrity.
How to Get Vintage Clothes White Again?
To get vintage clothes white again, I'd start by identifying the fabric type. For cotton or linen, I'd soak them in a solution of water and oxygen-based bleach. If there are stubborn stains, I might try applying hydrogen peroxide carefully. Always test a small area first to ensure the solution doesn't damage the fabric.


